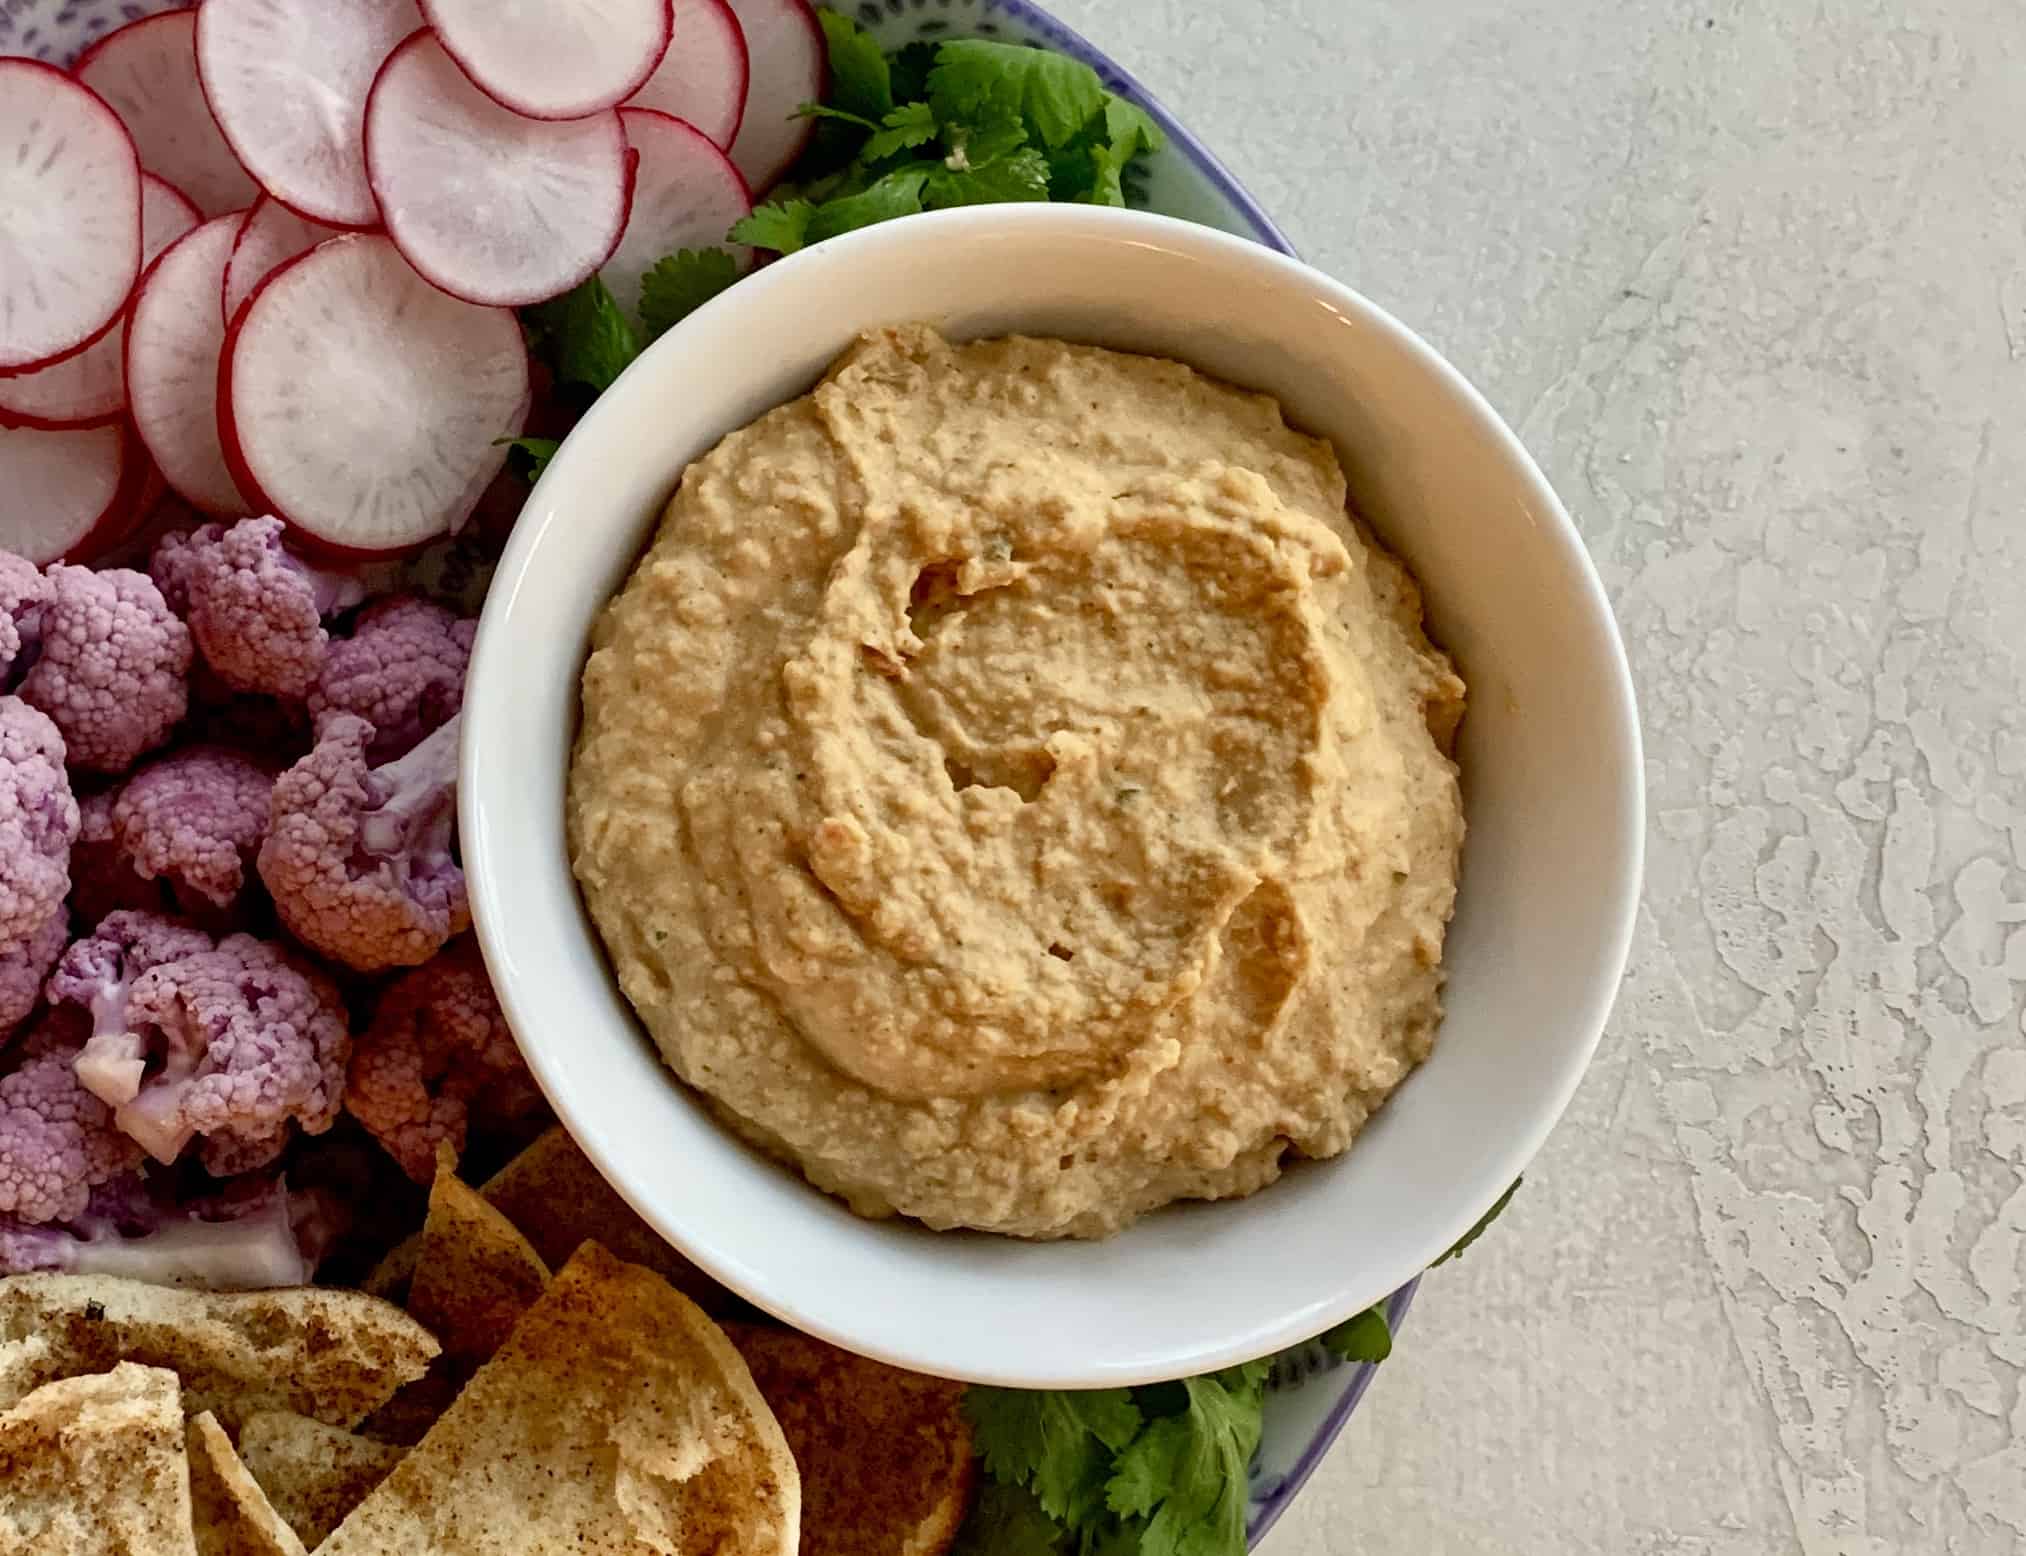
Fresh homemade hummus is creamy, delicious, and so easy to make. Once you’ve tried this Roasted Red Pepper & Garlic Hummus recipe, you’ll never go back to store-bought!
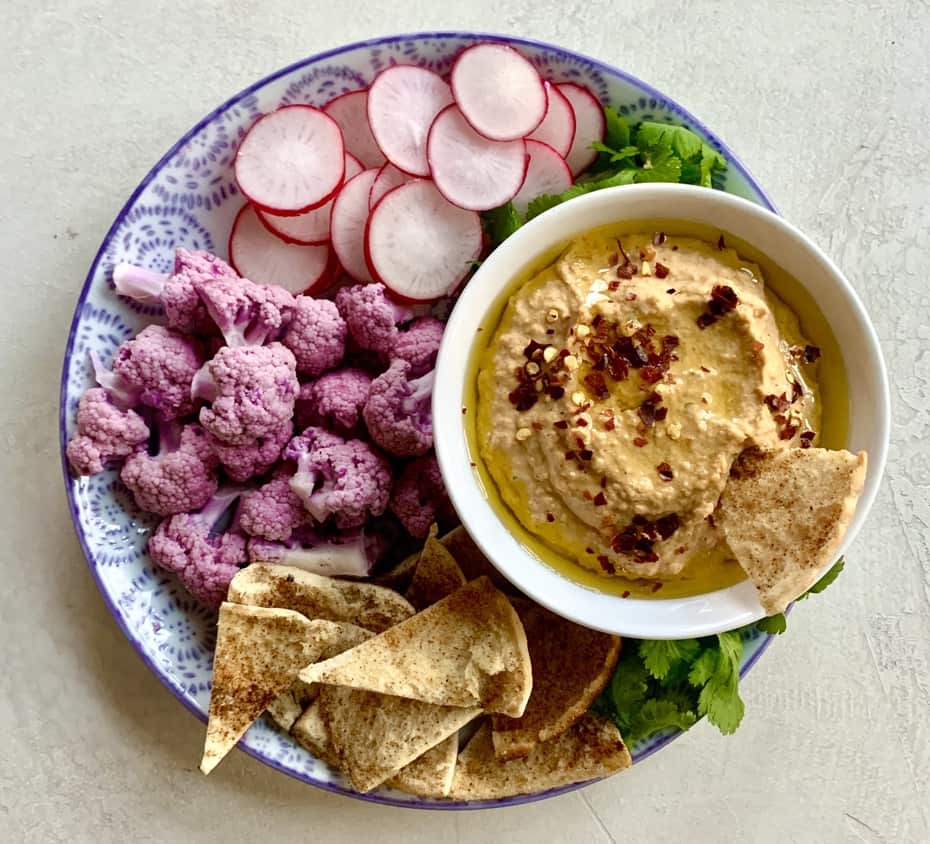
My favorite recipe is the Roasted Red Pepper & Garlic Hummus because it has the perfect blend of flavors to accompany any meal, including your breakfast, lunch, dinner, and snacks!
Jump to:
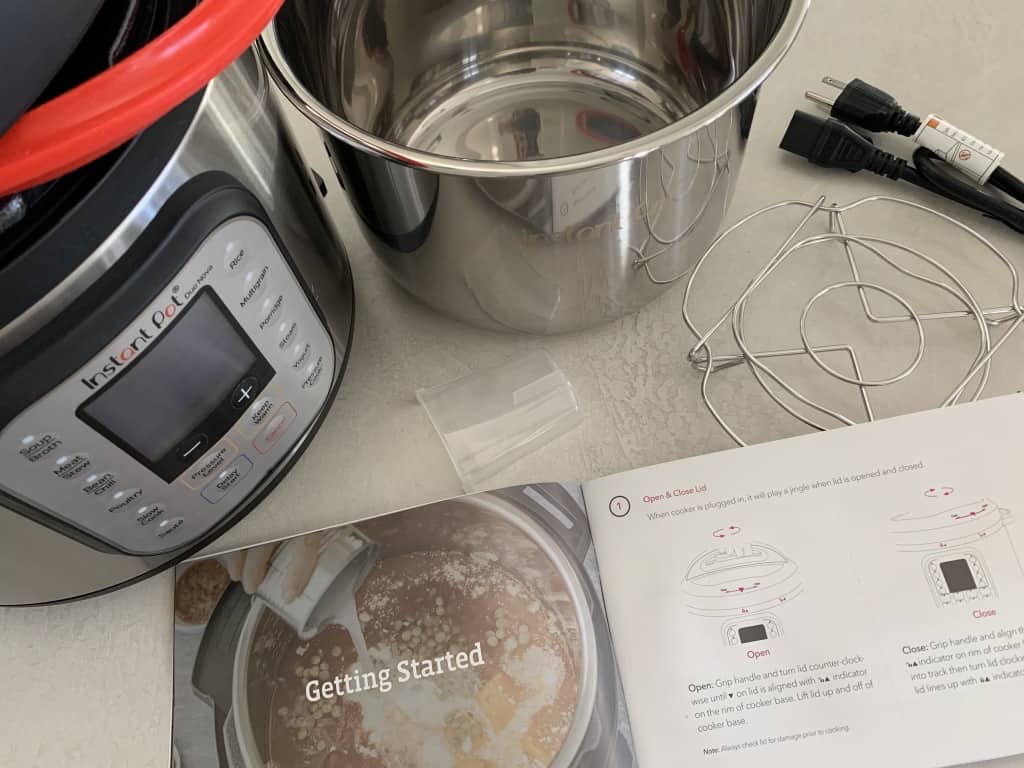
Equipment
Using the right equipment will save time (and money) with hummus made entirely from scratch using dry beans. Have no fear, though, I will share some of the shortcuts you can take to make homemade hummus.
Pressure cookers are best used in recipes with ingredients that require long cooking times as with beans and grains. A pressure cooker will greatly reduce the cooking times – almost to half, in most cases. Cooking under pressure has always been my go to kitchen equipment, especially for cooking beans from scratch.

This was one of my first times using the Instant Pot and I was really happy with it. I think it is a great addition to a kitchen, especially for young couples starting out with limited cooking experience and in most cases, limited space and limited time. Whatever your age, space or time though, it definitely makes cooking less stressful with an Instant Pot.
Instant Pot Upsides and Downsides
Upside:
- One of the best features with the Instant Pot are the timers that are programmed into it to alert you when the cooking time is finished. With a pressure cooker, I always needed to wait until the device popped up on top of the cooker, showing that the pressure cooker reached the temperature to start cooking. With the Instant Pot, it starts timing at that moment for you!
- I love the built in presets. They will automatically cook under the appropriate pressure and time for your recipe and also allow for adjustments if needed.
- You can adjust the times very easily with the + or – sign on the panel.
- You can walk away from it while it is cooking and not worry, unlike a pressure cooker on a cooktop.
- Cooking rice on a stovetop can be a challenge but in the instant pot, rice cooks perfectly!
- You can easily sauté in the Instant Pot also!
- It works well as a slow cooker also, so that’s one less kitchen tool to buy!
Downside:
- There is a little bit of a learning curve with the Instant Pot, especially with cleaning it, but it is well worth the time.
- When you release the pressure, it can be pretty messy at times! Be patient and let some recipes release naturally. (I learned the hard way – what a mess!)
- It is kinda bulky to store but if you look at all that it can do, it is worth the space.
- You still need a food processor/blender and a pot/pan in addition to the Instant Pot for many recipes.
Instructions
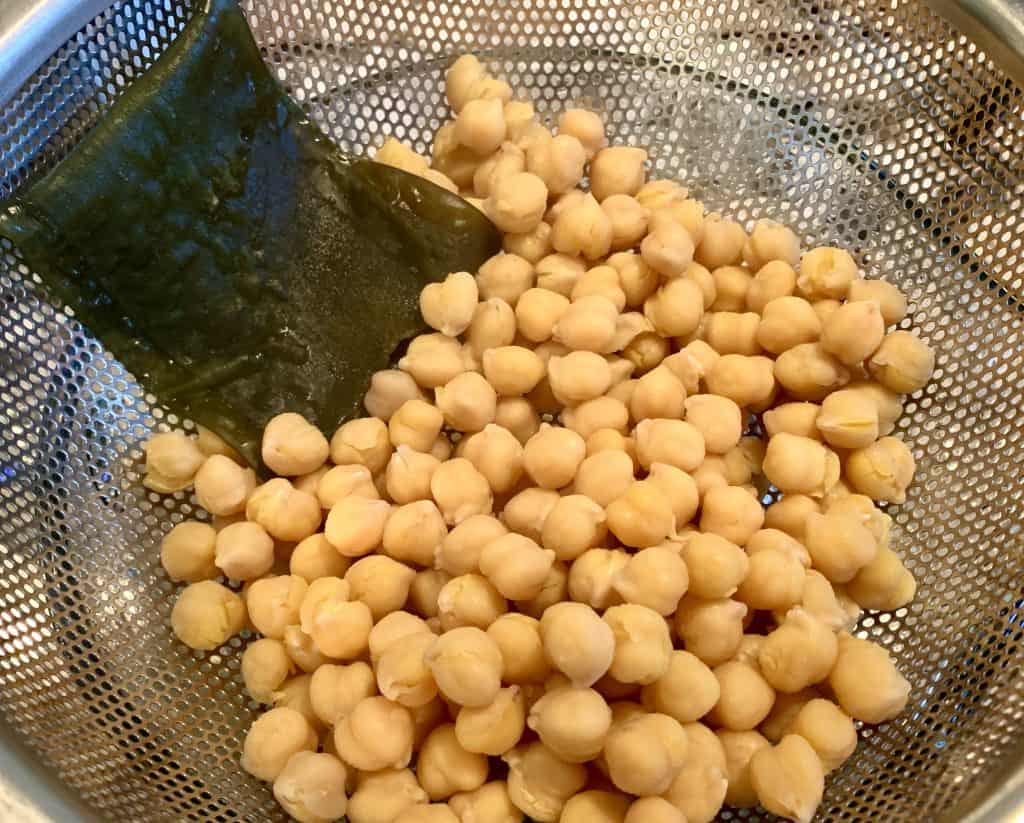
- I recommend to soak your beans overnight. It reduces the cooking time (by almost half) and it makes the beans easier to digest. If you didn’t prepare for this ahead of time, no worries, you can cook them without soaking, it will just take a little longer to cook!
- Add a piece of Kombu for a little extra kick in nutrients!
- Cook the chickpeas in the Instant Pot, for the recommended time.
- Strain the beans and save the strained liquid! *super important*
- Leftover Kombu is great to add to your compost after!
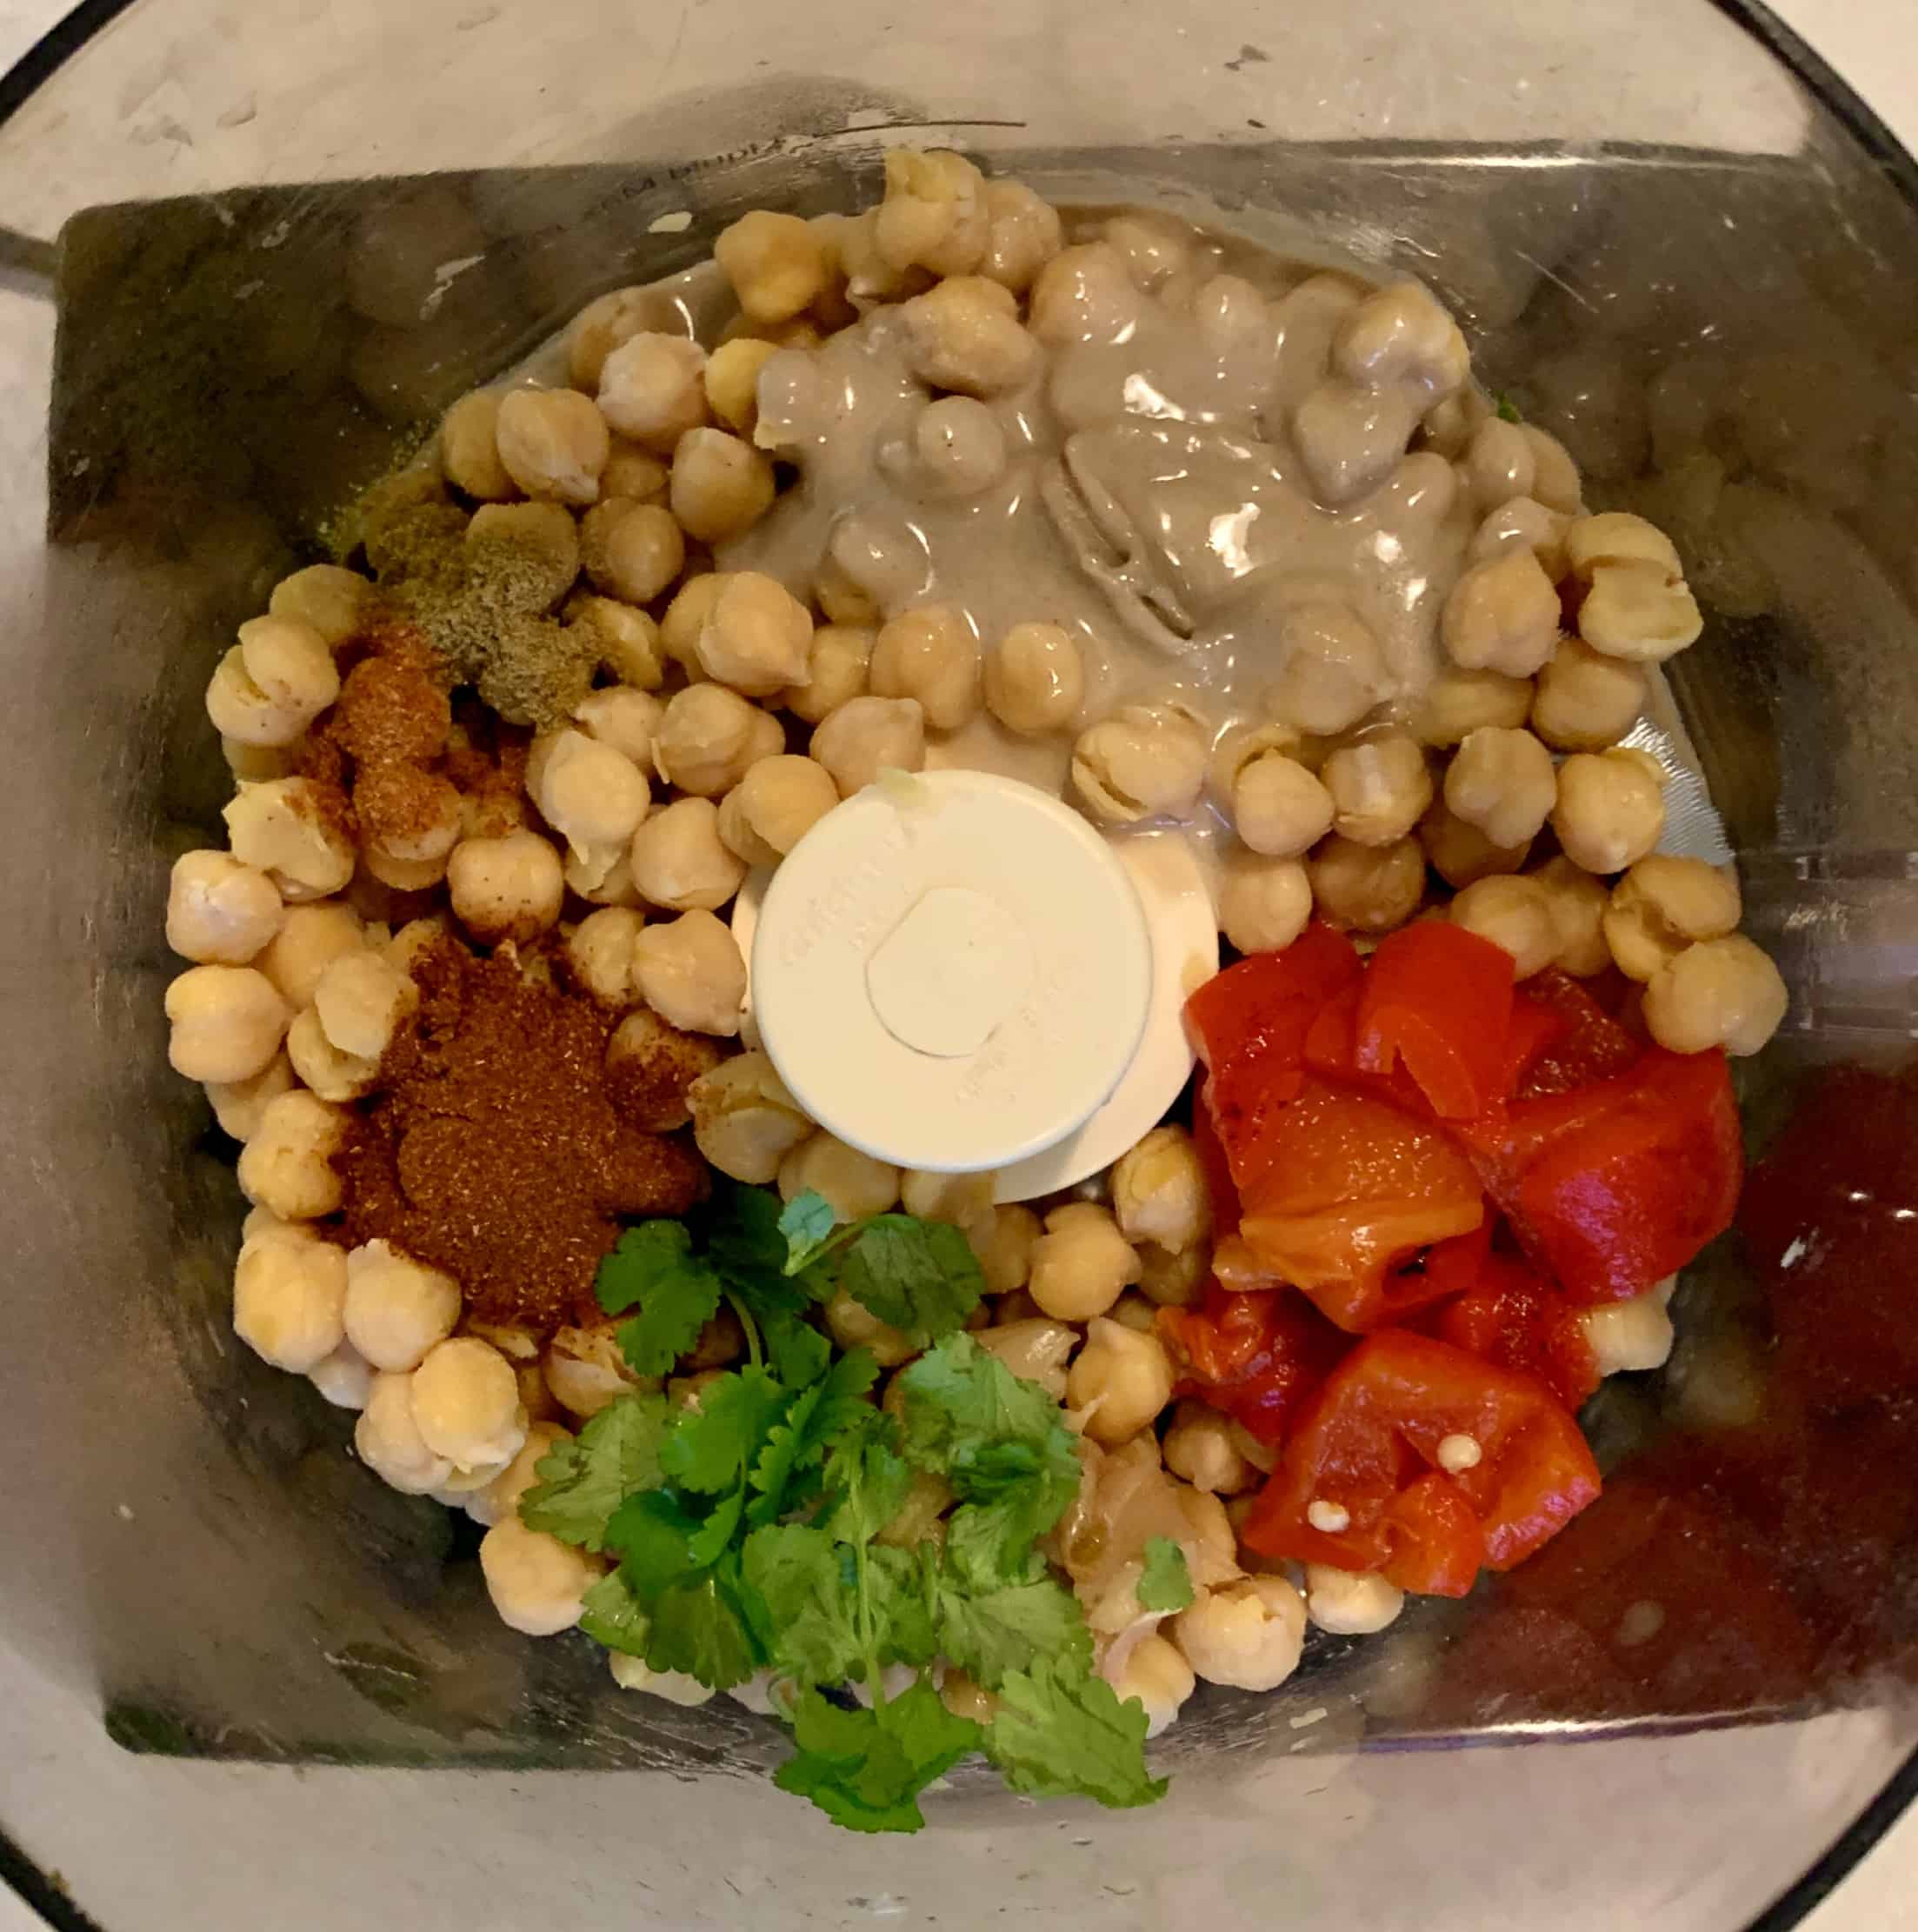
- Place all the ingredients in a food processor. Blend until smooth and tweak the spices to your desired tastebuds and you have delicious homemade hummus.


Substitutions
- Packaged/canned cooked chickpeas can be used
- Jarred roasted red peppers will taste just as good
- Reduce garlic to 1 fresh chopped garlic clove (if not roasting)
- Substitute with dry spices instead of fresh herbs
- In place of bean liquid, use vegetable broth and olive oil
Try Roasted Red Pepper Hummus in Chef Cindy’s Vegan Collard Green Wraps – a delicious and healthy lunch!
Print
Roasted Red Pepper & Garlic Hummus
- Prep Time: 15 minutes
- Cook Time: 35 minutes
- Total Time: 50 minutes
- Yield: 3 cups 1x
- Category: Appetizer, Condiment
- Method: Instant Pot, Pressure Cooked
- Cuisine: Vegan
Description
Roasted Red Pepper Hummus Recipe is made with chickpeas cooked in either an Instant Pot or Pressure Cooker and blended with roasted garlic and roasted peppers for some extra flavoring.
Ingredients
1 cup dried chickpeas, soaked overnight in 2-3 cups of water (3 cups cooked or 2 – 15 ounce cans)
4 cups water (for cooking beans)
1 teaspoon sea salt
1 kombu strip
1 garlic head, roasted
1 teaspoon olive oil (for roasting garlic)
1 red pepper, roasted over a flame, skin removed (or ½ roasted pepper, jarred)
¼ cup tahini
1 tablespoon fresh cilantro leaves
½ teaspoon cumin
2 tablespoon olive oil (plus more for serving)
¼ teaspoon red chili pepper flakes
½ teaspoon paprika
⅛ teaspoon cayenne pepper
2 tablespoons of lemon juice, ½ large lemon juiced
½ cup water or aquafaba (see notes), water or vegetable broth
Instructions
- Drain the soaked beans and place in the Instant Pot with 4 cups water, 1 teaspoon salt and 1 strip of Kombu.
- Place the lid on the pot, press the Beans/Chili button and set time to 20 minutes using the “-” sign on the panel (if beans weren’t soaked overnight, set to 40 minutes).
- While the beans are cooking, cut the top part off the garlic head and place it in a small piece of foil (or a garlic roaster), and drizzle the olive oil on top. Wrap the foil loosely around the garlic and roast at 350 for approximately 20 – 30 min. Remove when done and let it cool.
- Let the steam release for 15 minutes, then press the valve to release any of the pressure left. Remove the lid.
- Carefully lift out the pot and strain the beans over a large bowl or measuring cup to retain at least 1 cup of liquid.
- Add the beans to a food processor, along with the remaining ingredients – tahini, cilantro, cumin, paprika, cayenne, lemon juice and ½ roasted pepper. Squeeze the garlic out of 4 cloves and place in food processor. Add 1 teaspoon sea salt, ½ cup bean liquid and blend until smooth.
- Place in a bowl, cover with olive oil and red chili pepper flakes.
Notes
Aquafaba is the starchy liquid left from cooking beans or canned bean liquid.
You can add the olive oil into the food processor when blending instead of drizzling it on top.
Equipment Needed For Recipe:
- Optional: Instant Pot or Pressure Cooker (otherwise container beans is good)
- Must Have: Food Processor
Leave a Reply